In these directions you can learn how to create your own custom templates. There is another way to more officially "submit" templates that can be shared by the entire community. For more on this, visit Lynda.com: Google Docs > 14. Using Templates
One way create a Template:
In order to create a template, make your document just as you would a regular assignment. When you are ready, share the document by clicking the blue "Share" icon in the top right corner.

On the next screen, you must add people, and then choose what type of editing access to give them. (Hint, add students by typing in their full first and last names, for example: "Chip Chase." The email should automatically appear.)
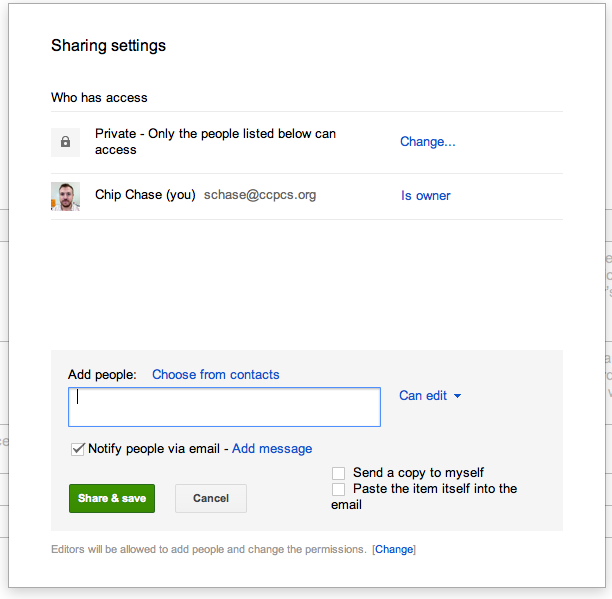
When adding students to a template, do not give them "editing" access. Instead, give them only the ability to "Comment" or "view" your document. This way, they will not be able to make changes to the template.

When students want to work on a template, they must:
- Make a copy of the template
- Change the title from (Copy of Template) to their own title.
- Students can change the field placeholders that you add.
- Students share the project with you.

No comments:
Post a Comment